1 Load Drum Loop
Create a new Cubase project with a tempo of 98.5 BPM and load the drum loop titled 01 098.5 drums01 from the Media Bay. Duplicate this audio track by right-clicking on it. Rename the duplicated track to Hi-Hat Filter. On this track we want to filter out the hi-hat rhythm in the next steps.
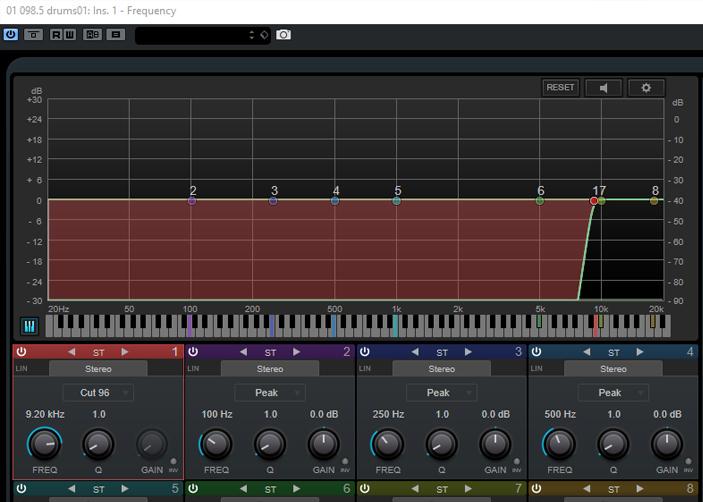
2 Filter Out the Hi-Hat
Load the Frequency Equalizer as an insert effect on the track and set the Lowcut with 96 dB slope at 9200 Hz. Now most of the drum elements disappear from the sound. It’s mainly the high frequencies of the snare and shaker that remain, but the hi-hat is now the loudest element in this frequency range.
3 Isolate with Gate
To isolate the signal of the hi-hat, we now use the Gate in the Channel Strip. First activate the List Filter function and deactivate the Activate Filter function. Set the Threshold to -25 dB and the Range to Minus infinity. Set the Attack Time to the lowest value of -0.1 ms and the Release Time to 50 ms.
4 Render in Place
Use the Render in Place function to create a new audio file with the adjustments from the last step. Select the audio event and open the dialog box via Edit > Render in Place > Render (Settings). Select the As One Event mode and choose Channel Settings under the Edit menu.
5 Customize Hitpoints
In the newly rendered track, the stops of the hi-hat are very nicely separated. Double-click on the audio event to open the Sample Editor. Open the Hitpoints tab and reduce the threshold until every hi-hat beat is detected as a Hitpoint. MIDI notes can be created from this in the next step.
6 Creating MIDI Notes
Select the Generate MIDI Notes function from the Hitpoint tab. The velocity should be generated dynamically, you can select a new MIDI track as the destination. You can quantize the MIDI notes generated by this, copy them to an instrument or sampler track if necessary, and select a new sound to replace or layer the hi-hat.