1 Save Computing Power
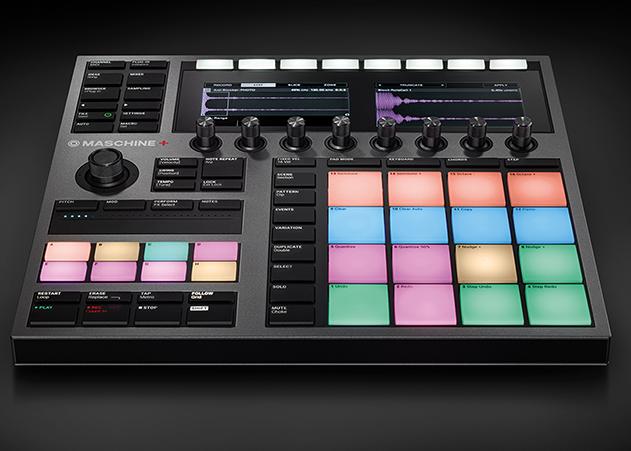
The power of the integrated processor in the Maschine+ is sufficient to realize even complex arrangements with plenty of drum kits and instruments. Nevertheless, this resource should be used sparingly. A reverb on each pad is not necessary. Using the reverb as a send effect can save a lot of computing power.
2 Create an Effect
Group First, you need to create a group that is exclusively responsible for the effects. In our case, we choose group D; however, you can set any group as an effect group. Select the first pad and press the Plug-in Button. Here, you can equip the pad with effects like reverb, delay, phaser and the like.
3 Choose the Effects
Now press the + on the main controller and select the Effect menu item under Type in the Plug-in menu. Here, you can choose from a selection of effects. In this case, we decided to use Native Instruments‘ own Metaverb Reverb. You can now easily load the plug-in onto the pad by clicking on the main knob.
4 Integrate More Pads
To create more Send Effects, simply press any Pad to activate it. Now load the desired effect and continue until you have covered all effects you need for your production. By the way, the Machine+ has many built-in effects that cover all your bases.
5 Choose the Sound
Before you continue, you should use the available Macros to adjust the settings of the effects. Set the Mix slider to 100%. You can easily change all other settings later. Now, switch to the group where your sound is located. Press the respective pad and press the Channel/MIDI button.
6 Effect Fine-Tuning
Now select the Sound tab and scroll to Page 2. Under Aux 1 and Aux 2, you can now select the effects as the destination. Use the Level slider to set the amount of the effect. By the way, the same approach can be used for groups if you want to add reverb to an instrument or drum kit.


