Hands-On Wiring pedalboards correctly

1. Planning and arrangement
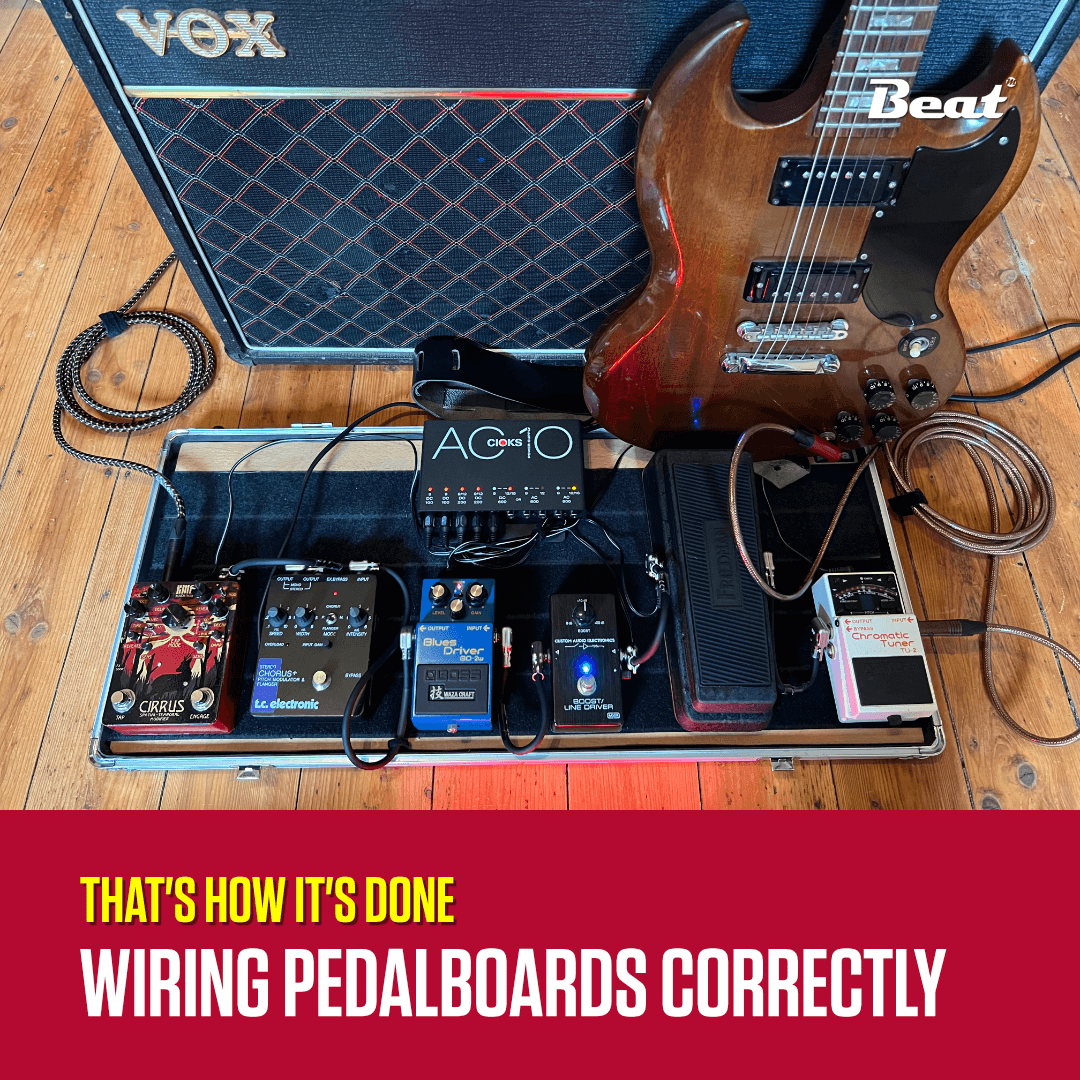
Before you start with the wiring, it is a good idea to plan the arrangement of the pedals. A typical signal
path could look like this:
Guitar > Tuner > Wah-Wah > Compressor > Overdrive/Distortion > Modulation (Chorus, Flanger) > Delay > Reverb > Amp
2. Power supply
In addition to the order, a reliable power supply for the pedals is also important. A power supply with isolated outputs avoids unpleasant humming and ground loops. Many power supplies can also supply several pedals at the same time. It is crucial to use the correct voltages (usually 9V, sometimes 12V or 18V) and polarities. With delay and reverb pedals, the correct current (in mA) must also be observed to ensure that they function properly.
3. Patch cable
For a clean signal from the guitar to the amp, it is best to use high-quality patch cables to connect the pedals together. Short, shielded cables are ideal for minimizing interference, such as the CFIP RR from Cordial with space-saving pancake plugs. Connect the outputs of the respective pedals to the inputs of the following ones in the planned order.

4. Pedal board preparation
To attach the pedals to the pedal board, many musicians use Velcro. But cable ties or special pedal mounts are also a good way to secure the pedals.
5. Check the signal flow
Checking the signal flow can save musicians from unpleasant extra work. It therefore makes sense to test all pedals with the corresponding cabling before permanently installing them. This also allows you to find out whether all effects work in the desired order and with the desired sound.
6. Cable management
As soon as all pedals are working, you can take care of cable management. You should lay the power and patch cables so that they cross each other as little as possible and there is no chaos on the board. In addition, audio and power cables should not run parallel. Keeping the board tidy not only makes troubleshooting easier, but also reduces the risk of cable breaks and signal loss.

7. Final check
After a final check to ensure that all connections are secure and there are no problems, the pedalboard is finally ready for use.
Notes:
- True bypass vs. buffered bypass: True Bypass preserves the signal but can lead to sound loss over long cable runs. Buffered Bypass helps prevent signal loss but can affect the sound.
- Effect order: There are no hard and fast rules, but some combinations work better than others. For example, a compressor may be better placed after the distortion. A booster before the distortion may not make the sound louder, but may create more distortion, where as a booster after the distortion may provide lead or solo boosts, as it „only“ makes the sound louder. Spatial effects such as reverb and delay are usually placed at the end of the chain, as you want to add spatiality to the distortion and not the other way around.
- Cables before and after the board: A high-quality connection is also crucial for good sound transmission from the guitar to the first pedal and from the last pedal to the amp. The Cordial „Road“ or „Metal“ cables, for example, are per-fect for the stage. Thanks to their special features,such as extra robust cable sheaths or high copper cross-sections, these cables are a reliable companion on all stages, in the rehearsal room and in the (home) studio.

Want more? Get more!


Subscribe to the digital edition of BEAT Magazine via Plugins-Samples.com and get more gear, in-depth workshops, reviews and 11 GB exclusive plugins and new sounds with every monthly issue!
Subscribe to Beat Magazine for only 4.99€ per month
