The groove is one of those things: Either it‘s there or it‘s not. But there are lots of tricks for it, 16 of which we list here. Finger drumming workshop included.
1 Groove is not only beat
When tinkering with the groove, not only the beat is required, all other elements are also affected. Especially the bassline as a foundation plays a major role here. Make sure that all tracks have the same groove. Different quantizations in a track quickly create a washed-out overall mix.

2 Where to get the groove from?
All common DAWs offer functions for groove, shuffle, swing or quantization. In Ableton Live you can find a lot of material in the Grooves folder in the User Library. In Cubase you choose the quantization with the Q key, in Logic Groove Templates are the desired option, in Reason the ReGroove Mixer is the method of choice. FL Studio, Studio One, Reaper and all other DAWs also have a suitable solution. Just apply a simple 55% shuffle groove to a straight drum loop with a typical 4/4 club rhythm. With this typical 55% quantization, each even 16th note is delayed a little, which immediately adds momentum.
3 How much groove is in it?
For techno, trance or house tracks with a straight 4/4 beat, so-called shuffle/swing quantization should provide a lot of groove. In contrast, quantizations with a real band and live feel are probably inappropriate because they cause unpredictable fluctuations in timing. For 4/4 rhythms rather a no-go. For hip-hop, pop or downbeat, on the other hand, such live grooves can make a song much more authentic.
4 Groove and tempo
Tempo also plays a role when you quantize your tracks with a particular groove. For example, 55% shuffle grooves work relatively well at a tempo of up to 140 bpm. At higher tempos, it quickly becomes hectic and unclean. At 120 bpm or less, extreme shuffle grooves up to 75% are quite realistic.
5 Small details
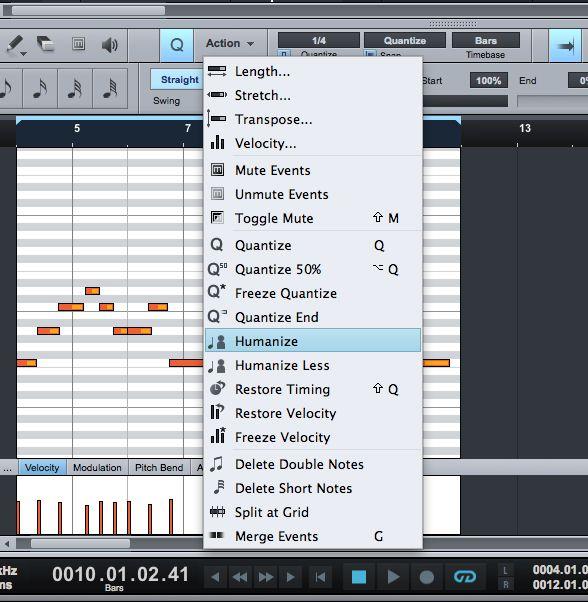
When you record a track, you are not quantizing it 100% accurately, but leaving notes a little off here and there. It‘s these little inaccuracies that add a lot of live feel and groove. Some DAWs such as Cubase or Machine offer a humanize function for the subsequent „humanizing“ of
a groove.
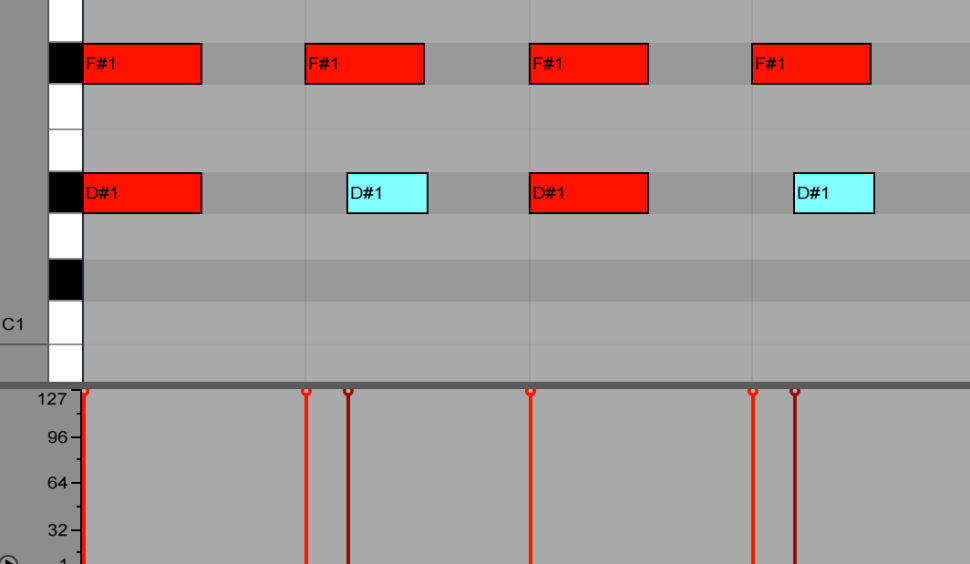
In the case of styles with a 4/4 focus, however, this works less well. Here mechanical equality is required. Instead of timing variations, however, you can work with different volumes of a sound. For example, a permanently equally loud 16th note hi-hat has little to do with groove. However, if the velocities of the notes are different, the groove comes by itself.

6 Approximate quantization
It may sound complicated, but it‘s relatively simple: With an approximate quantization, as offered in most large DAWs, notes are not quantized exactly with the given groove, but only partially. This allows the timing to be adjusted, but small deviations are retained.
7 More stereo with groove
Approximate quantization can also be used to create more stereo width: For example, record a lead sound, double it and pan the variants hard to the left and right. Load a groove quantization and apply it 100% to the original, but only 50% to the copy.
8 Less can be more
If the track doesn‘t groove, it may be because there are either too many sounds running at the same time and/or there are no gaps in the sequences. A permanently rumbling bassline with static sound could be such a case. More advantageous are either gaps in the sequence, emphasis of single notes or a modulation of the sound..
So if you miss groove in a sequence, thin it out. Cut out small parts, soften isolated spots, or add movement to the sound. For instrument tracks this could be a filter modulation. For audio tracks plug-ins such as Glitch or Effectrix are recommended if they are used sparingly.

9 LFOs as rhythm makers
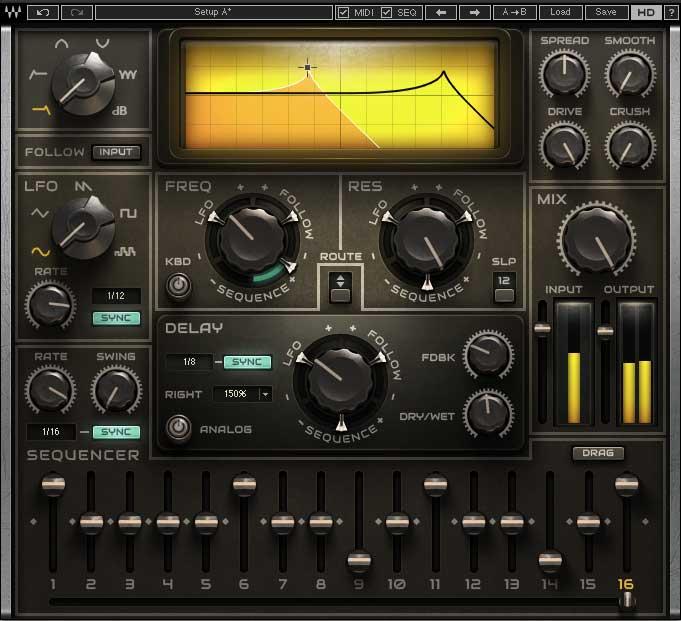
Another way to make sequences more interesting is to use an LFO or step sequencer to modulate a filter, for example. A synth plug-in usually has at least one LFO integrated, otherwise you load an effect such as TAL-Filter II or Waves ’MetaFilter and bring life into the sound. Especially basslines benefit greatly from this. To start, you should sync the tempo of the LFO or sequencer to the DAW and choose an odd rate like 1/4T or 1/3.
10 Borrow grooves
If you can‘t find a groove at all, borrow one! Most modern DAWs offer a function to analyze a track and import its groove. For a more traditional band recording, it‘s a good idea to analyze an entire track, such as the drums. For tracks that have to work in a club, you should focus on one or two bars so that the groove remains predictable.
11 Alternation
An infectious groove is seldom created by a sound alone, but rather by the interplay of different elements. A classic example is a kind of question-and-answer game: Sound 1 has a gap in its sequence that is filled by sound 2. Alternatively, a soft and an aggressive sound can alternate or different intensities of a distortion effect.
12 Change
Let‘s assume you have a bassline sequence (or other loop) that really grooves and carries you along. The effect can be increased even further if you occasionally move the bassline backwards by an eighth. This is also great for creating fill-ins.
13 Halftime
Let‘s stay with loops: Load a drum or percussion loop onto an audio track, duplicate it and halve the tempo of the copy. Many loops can be made not only fatter, but their groove can also be increased with this method.
14 Delay as a groove maker
You don‘t always have to do the magic yourself, a plug-in can do it for you. If you have a sound that you like, but you just can‘t find a suitable pattern for it, load a filter or groove delay onto its track, for example Tekturon . Now trigger the sound occasionally and then test various patterns of the plug-in. Since plug-ins like Tekturon with variable delay and filters provide a relatively large amount of additional output, they are perfect for this purpose. Even if you only set your sound to every second quarter note, delays like this make a real groove out of it.

15 Arpeggiator as a drummer
Not everyone has a drummer in the basement or can play good patterns by hand. This is where an arpeggiator can do a good job. Most DAWs come with a corresponding MIDI effect, alternatively you can use the freeware Hypercyclic or Kirnu . Depending on the DAW, the effect is loaded before the drum plug-in or it is routed to its own MIDI track and from there to the drum plug-in track. If in doubt, refer to the manual for your DAW. Once everything is ready, it‘s time to experiment: Program various steps and pitches with different note lengths in the arpeggiator and trigger various drums with them. Of course, this approach is relatively random, but that‘s where the excitement lies, because that‘s exactly why you end up with grooves that wouldn‘t come about manually.
16 Regroove
With the Regroover, Accusonus has a practical tool for remixing or rebuilding loops and their groove. A loaded sample is analyzed and divided into various layers, for example kick, bass, snare and hi-hat. These layers become new loops that can be mixed, shortened and even triggered via MIDI independently of each other. It is also possible to put slices of the newly created loops on a 4x4 pad matrix in order to play them manually. So it only takes a few clicks of the mouse to turn an old loop into a completely new groove monster.
