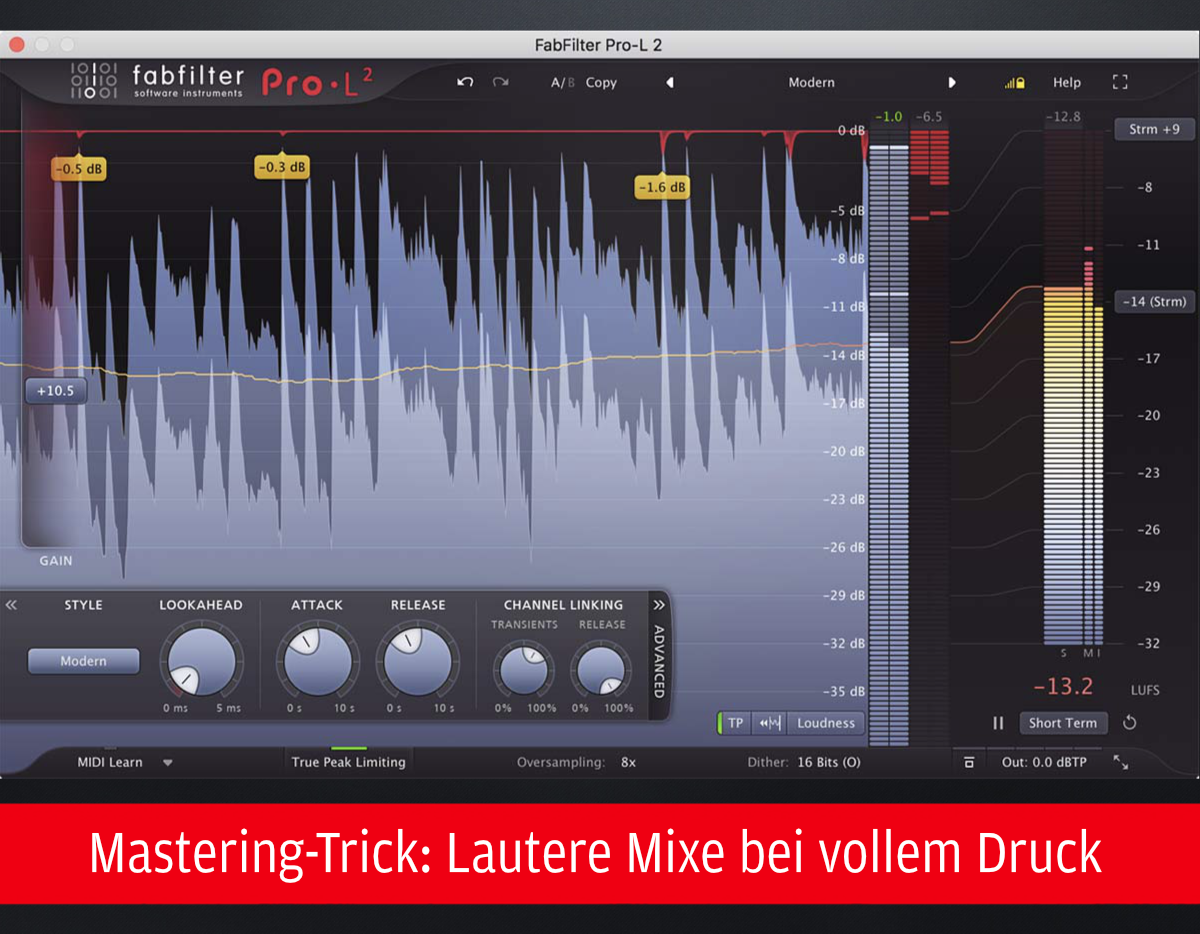
1 Load limiter
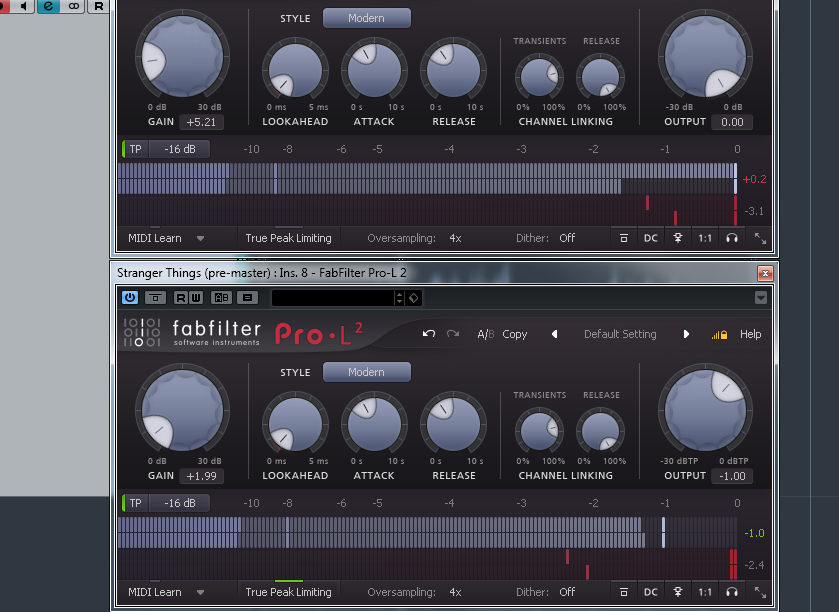
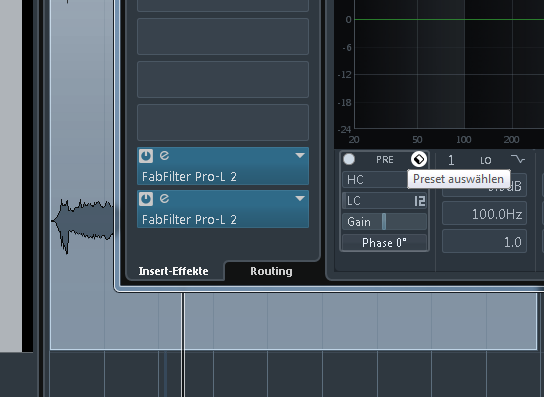
First, we load two instances of the Fabfilter Pro-L 2 into the insert channel of our channel track. The two limiters are connected in series and go into the last two slots of our mastering chain, so that they form the end of the signal flow. All other effects like equalizer, compressor and distortion are inserted before the limiters.
2 Set oversampling
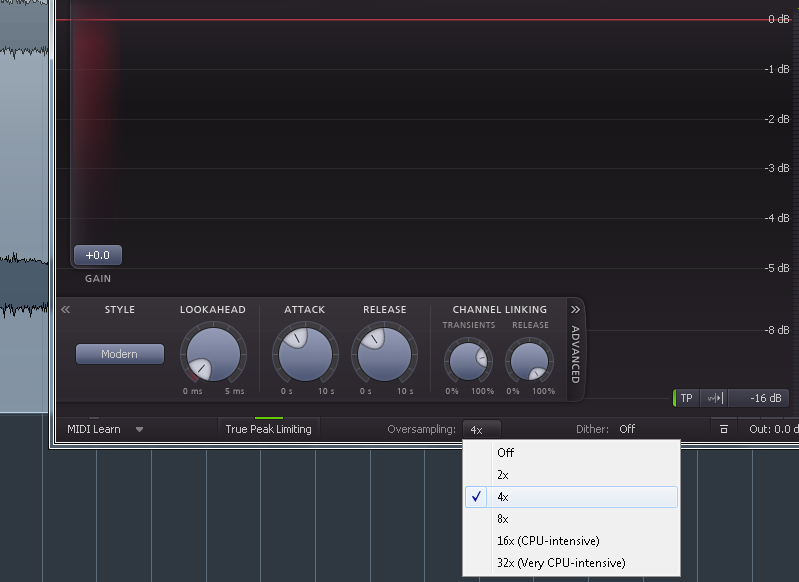
Now we set the limiters correctly for the mastering process: to increase the sound quality, we set the Oversampling to 4x. This value is a good compromise between CPU usage and quality increase. This way, possible aliasing is greatly reduced. This can occur when the limiter has to work particularly hard and fast.
3 True peak & output level
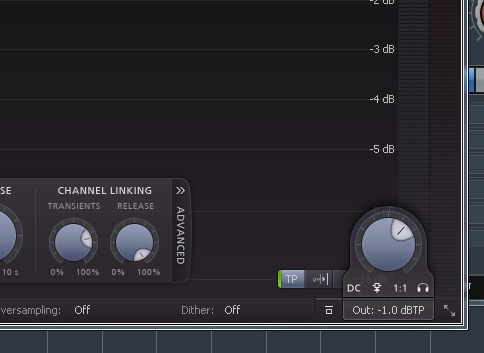
Next, we deactivate the 1st limiter and activate the True Peak Mode for the 2nd limiter. In addition, we set the Output Level of the 1st Limiter to 0dB and of the 2nd limiter to -1dBTP. This way, we make sure that nothing above -1dBTP leaves the DAW and no distortion can occur during the digital-to-analog conversion.
4 Gain of the 2nd limiter
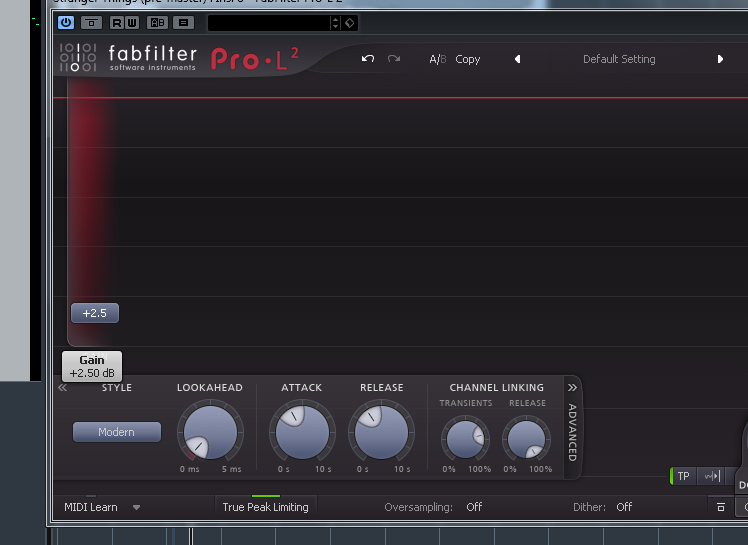
Now we set the Gain control of the 2nd Limiter to +2dB. Now we can drive with the 1st limiter into the 2nd limiter and the 2nd limiter never has to work with more than 2dB Gain Reduction. This prevents distortion caused by the 2nd limiter, which can occur if the gain reduction is too high.
5 Generate loudness
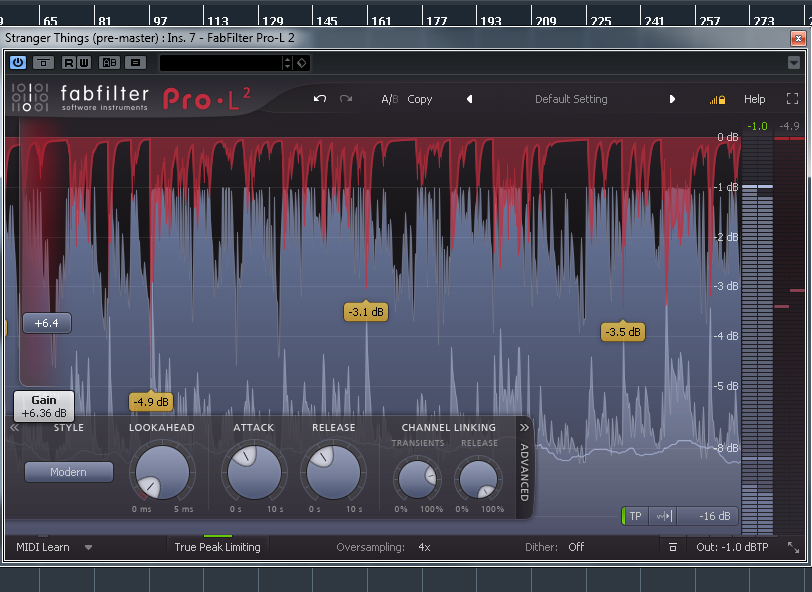
Here we take the Gain Control of the 1st limiter and catch up loudness. We turn it up until we have reached a Gain Reduction of 3dB. Due to the two-stage limiting process of the limiters, the transients are now reduced much more smoothly and without distortion, since each individual limiter does not have to do as much work.
6 Control
Finally, we check the Gain Reduction of the two limiters once again. The two Gain Controls should be set in such a way that their respective Gain Reduction does not exceed a maximum of 3dB. This limiter stacking trick allows us to spread the work of one limiter over two, which results in a much smoother sound.
