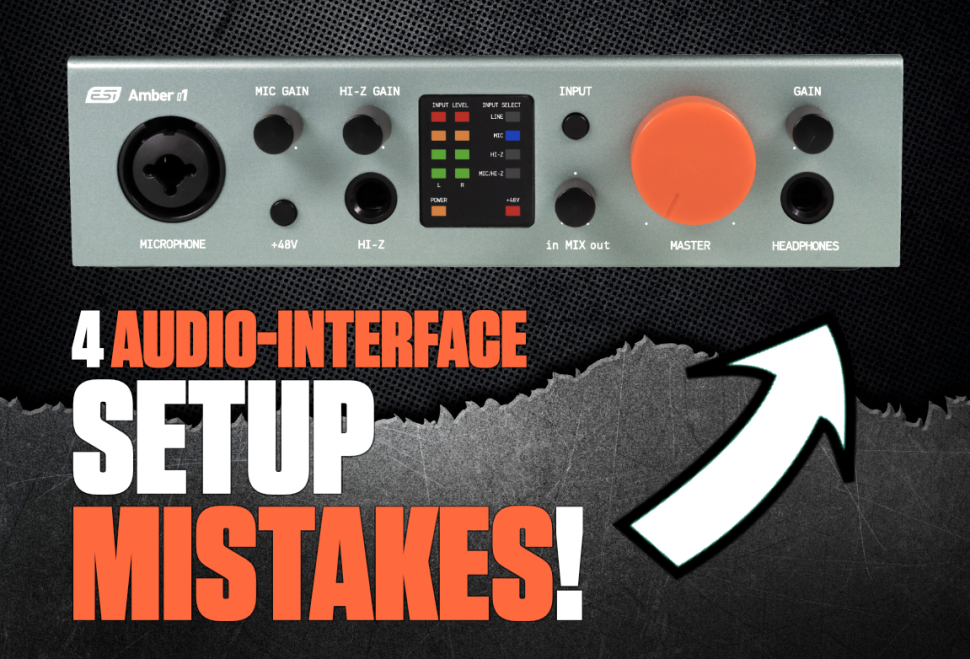
4 audio-interface setup mistakes... and how to avoid them!
1 Leveling microphones and instruments
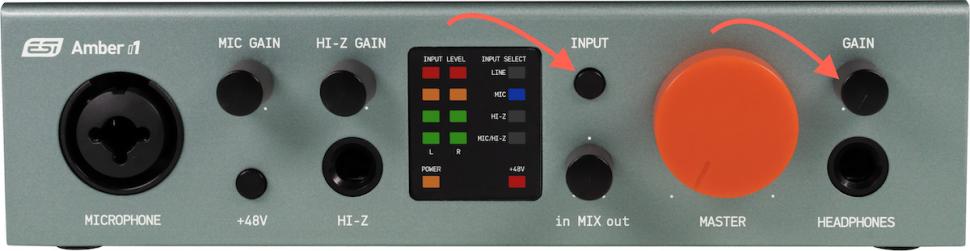
It‘s more important than you might think, because cleanly controlled recordings not only produce less noise, but can also be edited and integrated into the mix much better afterwards. And that starts with the connection: Microphones are quieter than line-level signals such as guitars or synths. The MiniFuse has a line button directly below the gain control for the latter. In addition, the light built into the knob glows blue when the signal is well levelled or red when it is too loud.
The input volume should always be in the range of -6 to -36 dB, ideally between -10 to -15 dB.
2 Avoiding feedback during vocal recording
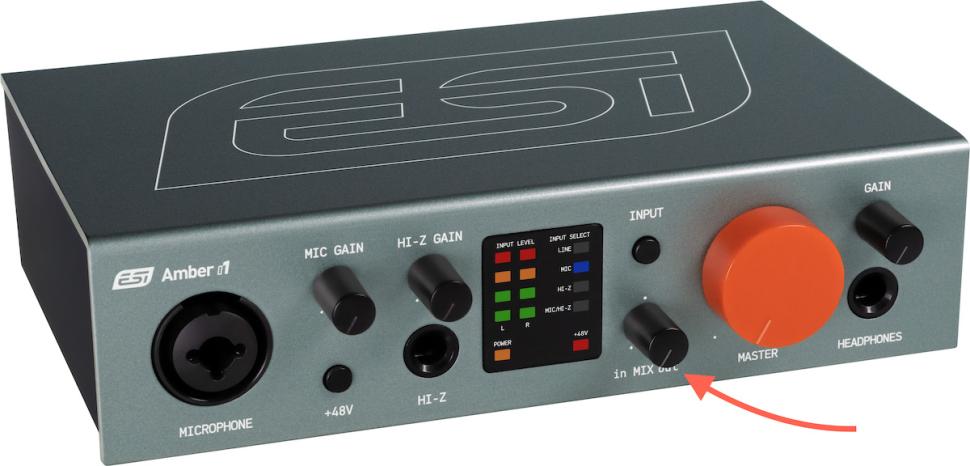
The solution here is pretty simple: if you don‘t have a vocal booth available, just use headphones instead of monitor speakers while recording. You can also use Direct Monitoring to route the microphone input directly to the output. By the way, the MiniFuse 2 allows continuous control between the input signal and the DAW. This means you could record the vocals in the DAW and add a lot of effects, but mix the dry signal louder for the headphones.
3 Sample directly from YouTube or other sources
Where people used to sample from vinyl, YouTube has long since taken over as a fruitful source of inspiration. But how does the signal get from the browser to the DAW? Arturia offers a special loopback function in the MiniFuse interfaces that allows you to record sound from any app directly into the DAW. Take a look at the instructions on page 29, there you will learn how to do it. But be careful: don‘t sample randomly, always keep an eye on the legal situation and clear the samples with the creators!

4 Choosing the correct sampling rate
In reality, people can hear frequencies in the range of 20 Hz to max. 20 kHz. Due to the „Nyquist theorem“, the sampling rate must be twice as large as the highest perceivable frequency, which in turn means that 44.1 kHz is capable of capturing and reproducing all frequencies within the human hearing range.
By increasing the sampling rate, higher frequencies can be captured. As long as the sampling rate is high enough to capture and reproduce the highest frequency in your audio, that frequency and everything below it can be captured and reproduced perfectly. However, a slightly higher sampling rate, e.g. 48 kHz or 96 kHz is not wrong, since a sampling rate of 44.1 kHz would leave only about 2 kHz of bandwidth between 20 kHz and 22.05 kHz for the antialiasing and reconstruction filters.
You can find out more about the ESI Amber i1 audio interface on the ESI website.
Want more? Get more!


Subscribe to the digital edition of BEAT Magazine via Plugins-Samples.com and get more gear, in-depth workshops, reviews and 11 GB exclusive plugins and new sounds with every monthly issue!
Subscribe to Beat Magazine for only 4.99€ per month